Only with us - Order stamps EASY:
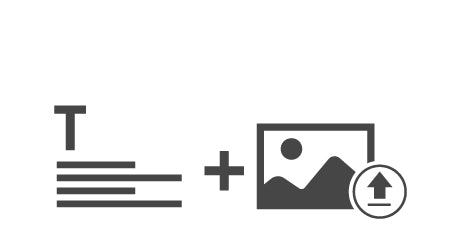
Design your imprint individually in our design tool first (TEXT, GRAPHICS, TEXT & GRAPHICS) and then let our system show you suitable models.
You can design your personal stamp however you want, because in our editor you can upload your own stamp graphic and also add text. Companies, for example, choose this option as a company stamp if they want to design their own stamp with a logo.
First select your desired model and then in the second step use our online editor to design your stamp with text and graphics.


Watch our short explanatory video to know all the options you can use online to design your individual stamp.
In our online editor for designing your stamp, we show you how to
As soon as you have checked everything, let our shop show you the right stamp models
Here we explain the 3 simple steps to order your stamp with individual text and graphic elements.

In the first step, you can upload your own graphic or select a clipart from our clipart gallery to start designing your stamp. In the clipart gallery you will find selected templates for bonus card stamps, school stamps as well as various cliparts for different professions, catering symbols and symbols for stamps for private use (flowers, animals, sports, etc.).

In step 1b you can enter the desired number of lines of text in the stamp editor, select fonts and change the line spacing. Edit your text as desired and you will see directly in the preview what your stamp impression will look like and how large your impression will be.
The SHIFT text function is also important when designing so that you can set the desired distance from your uploaded graphic as well as the exact positioning of the stamp text elements.
You can download and print out the 1:1 preview as a PDF at any time so that you can view and check your impression on A4 paper in the effective imprint size.

The stamp graphic or clip art you upload can be positioned as desired in our editor. Using the POSITIONING function, you can choose whether the logo/graphic should be on the left, right, above or below the text. The graphic will always be positioned so that you can see the text above the graphic.
If your uploaded graphic contains unnecessary white borders, you can use the OPTIMIZE function in our stamp editor to remove them.
You can download and print out the 1:1 preview as a PDF at any time so that you can view and check your imprint on A4 paper in the effective imprint size.
In addition to the text and your graphic, you can place a frame around the imprint to give your stamp a personal touch. You can specify the line thickness and corner rounding of the frame yourself here.

After you have finished designing and checking your stamp with text and graphics, you can let our system display the appropriate stamp models in the next step.
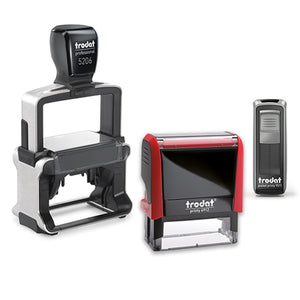
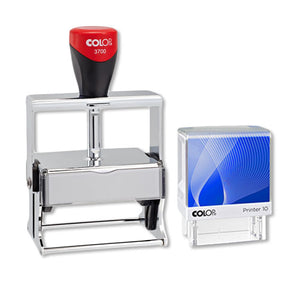
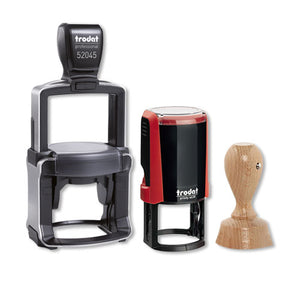
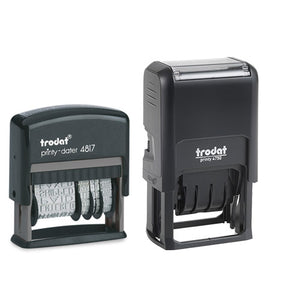
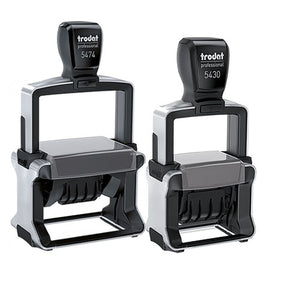
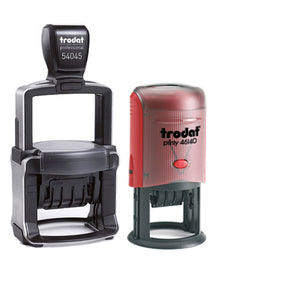
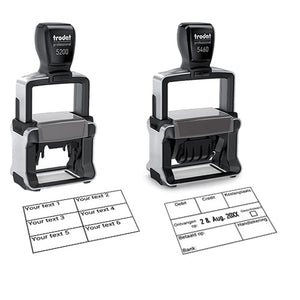
This is how our stamp selection function works: Based on the stamp impression you have designed, the appropriate model from each stamp category is displayed, along with a short description of the stamp. This way you can choose which stamp you like best, or whether the stamp is more suitable for use in the office or at home. For use at home, we recommend stamps with a plastic casing, such as the Trodat Printy. For use in the office, we recommend the durable, robust Trodat Professional with a metal casing.

As soon as you have selected your desired stamp model online, you can configure your desired stamp in the third and final step. Here you choose the color of the stamp housing and the stamp imprint online. Our system now also shows you how large your imprint will be and the possible stamp size of the stamp model you have chosen.
Our system now also shows you how large your imprint is in relation to the maximum size of the stamp model you have chosen. In this step you can see whether your imprint takes up the entire possible area or whether you could even make your imprint a little larger for the desired model.
If you have any questions regarding our stamp products, please do not hesitate to contact us using one of the options below.